
by Kennedy Kao
The Hart House Film Board has had the Canon C100 Mk-1 and Mk-2 models for quite a while now. As our best camera, the Canon C100 is terrific for serious or casual filmmaking, but all in all a prime choice for beginners. In this guide, we'll walk you through the essentials of using the Canon C100 to help you make your next movie.
Getting to Know the Canon C100
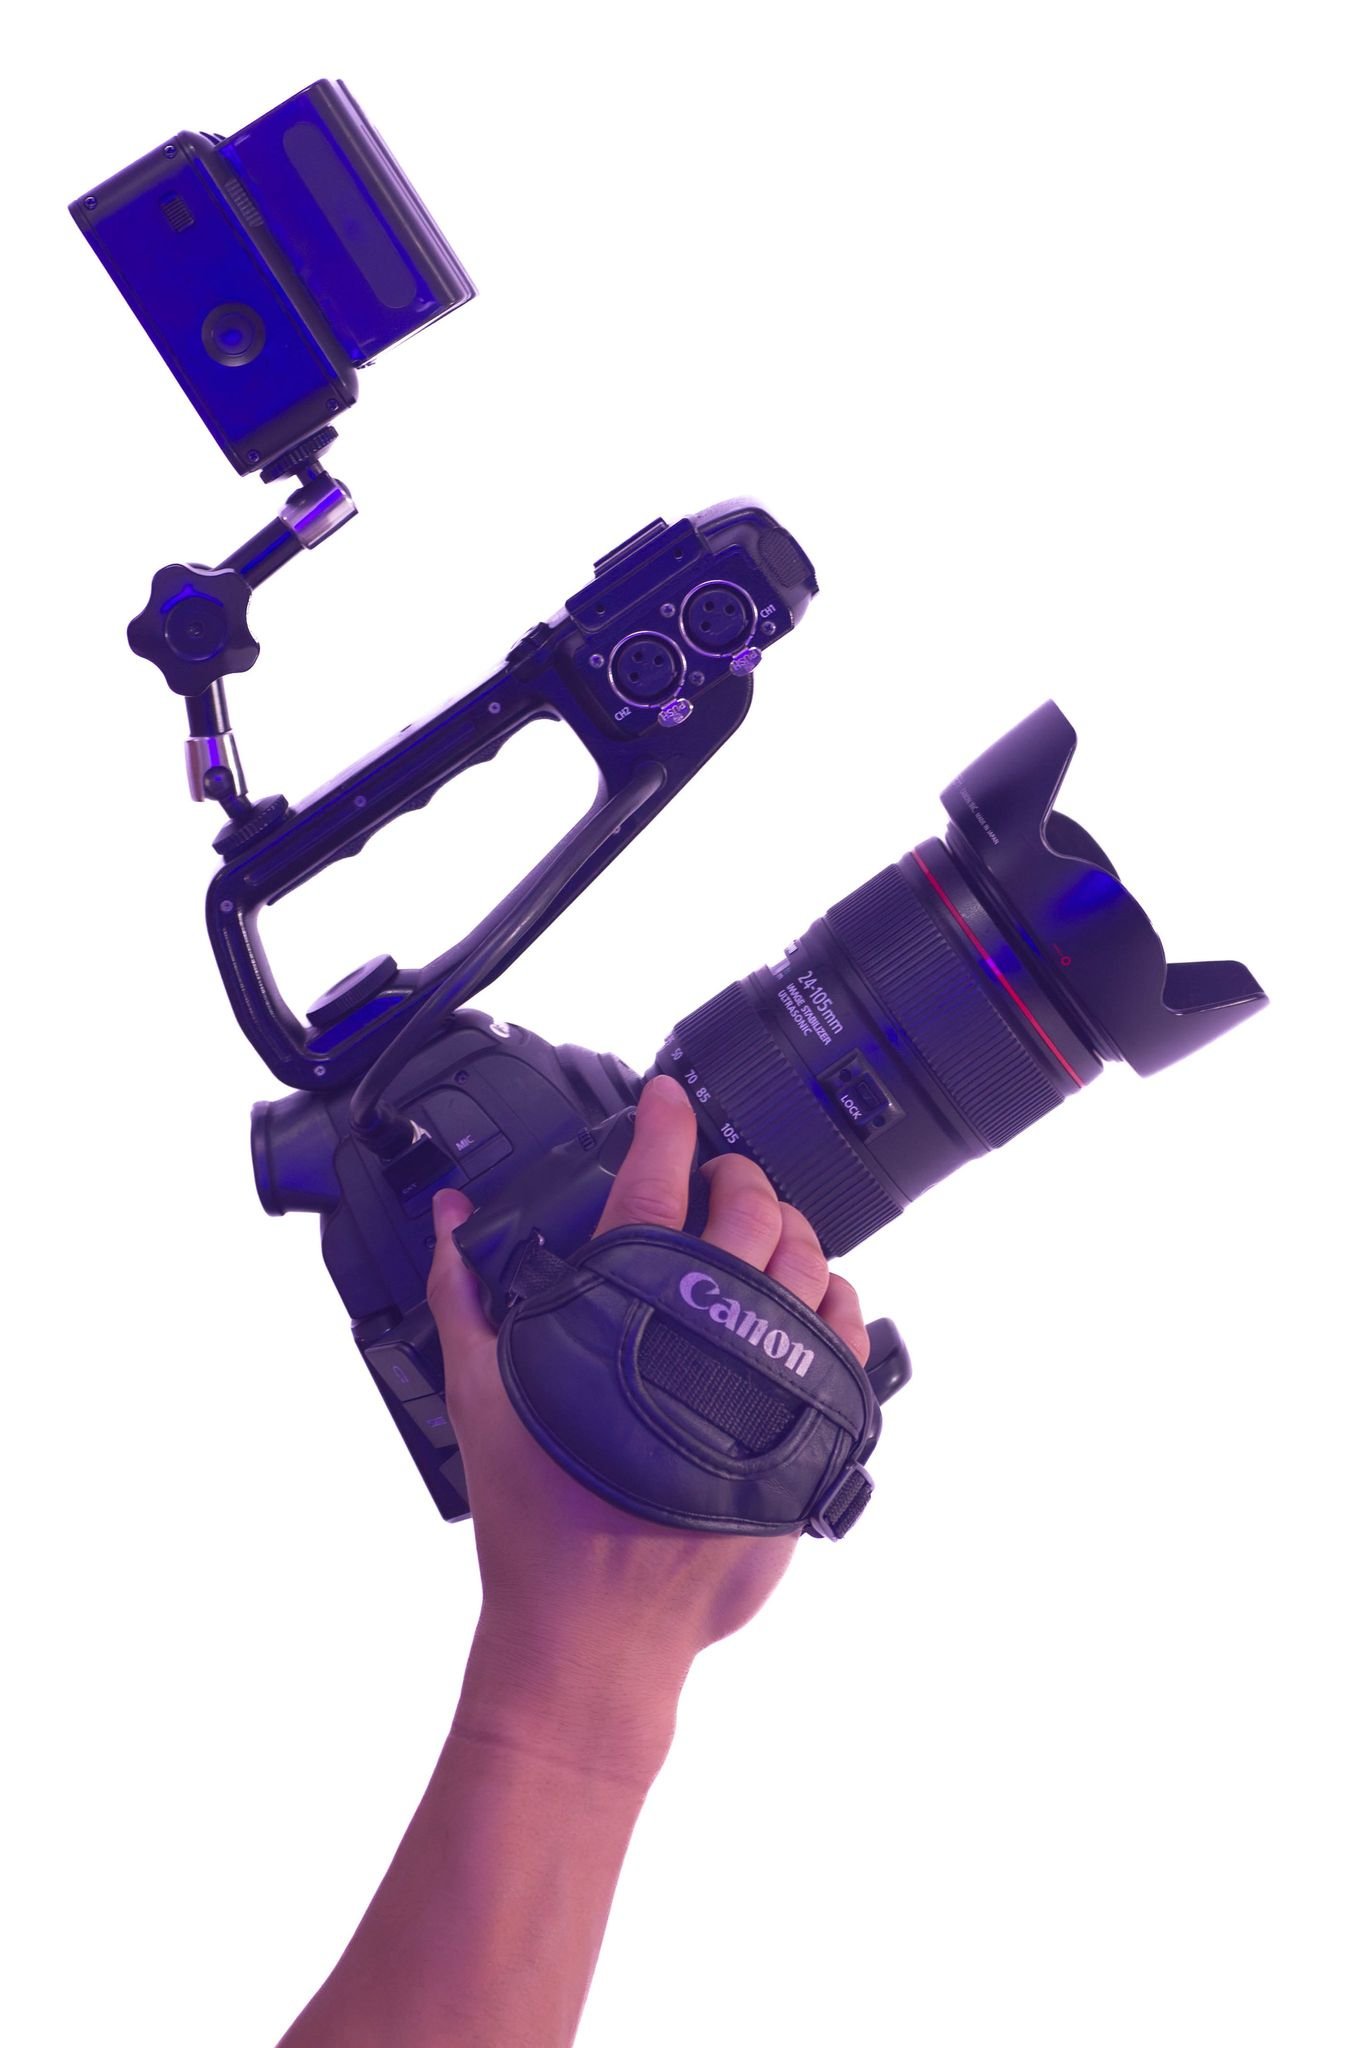
Before we dive into how to use the Canon C100, let's talk about the camera’s features. The Canon C100 is known for its compact and ergonomic design – it’s light enough to be portable yet sturdy enough for professional use.
Let’s familiarize ourselves with the various buttons, dials, and ports that we’re working with.
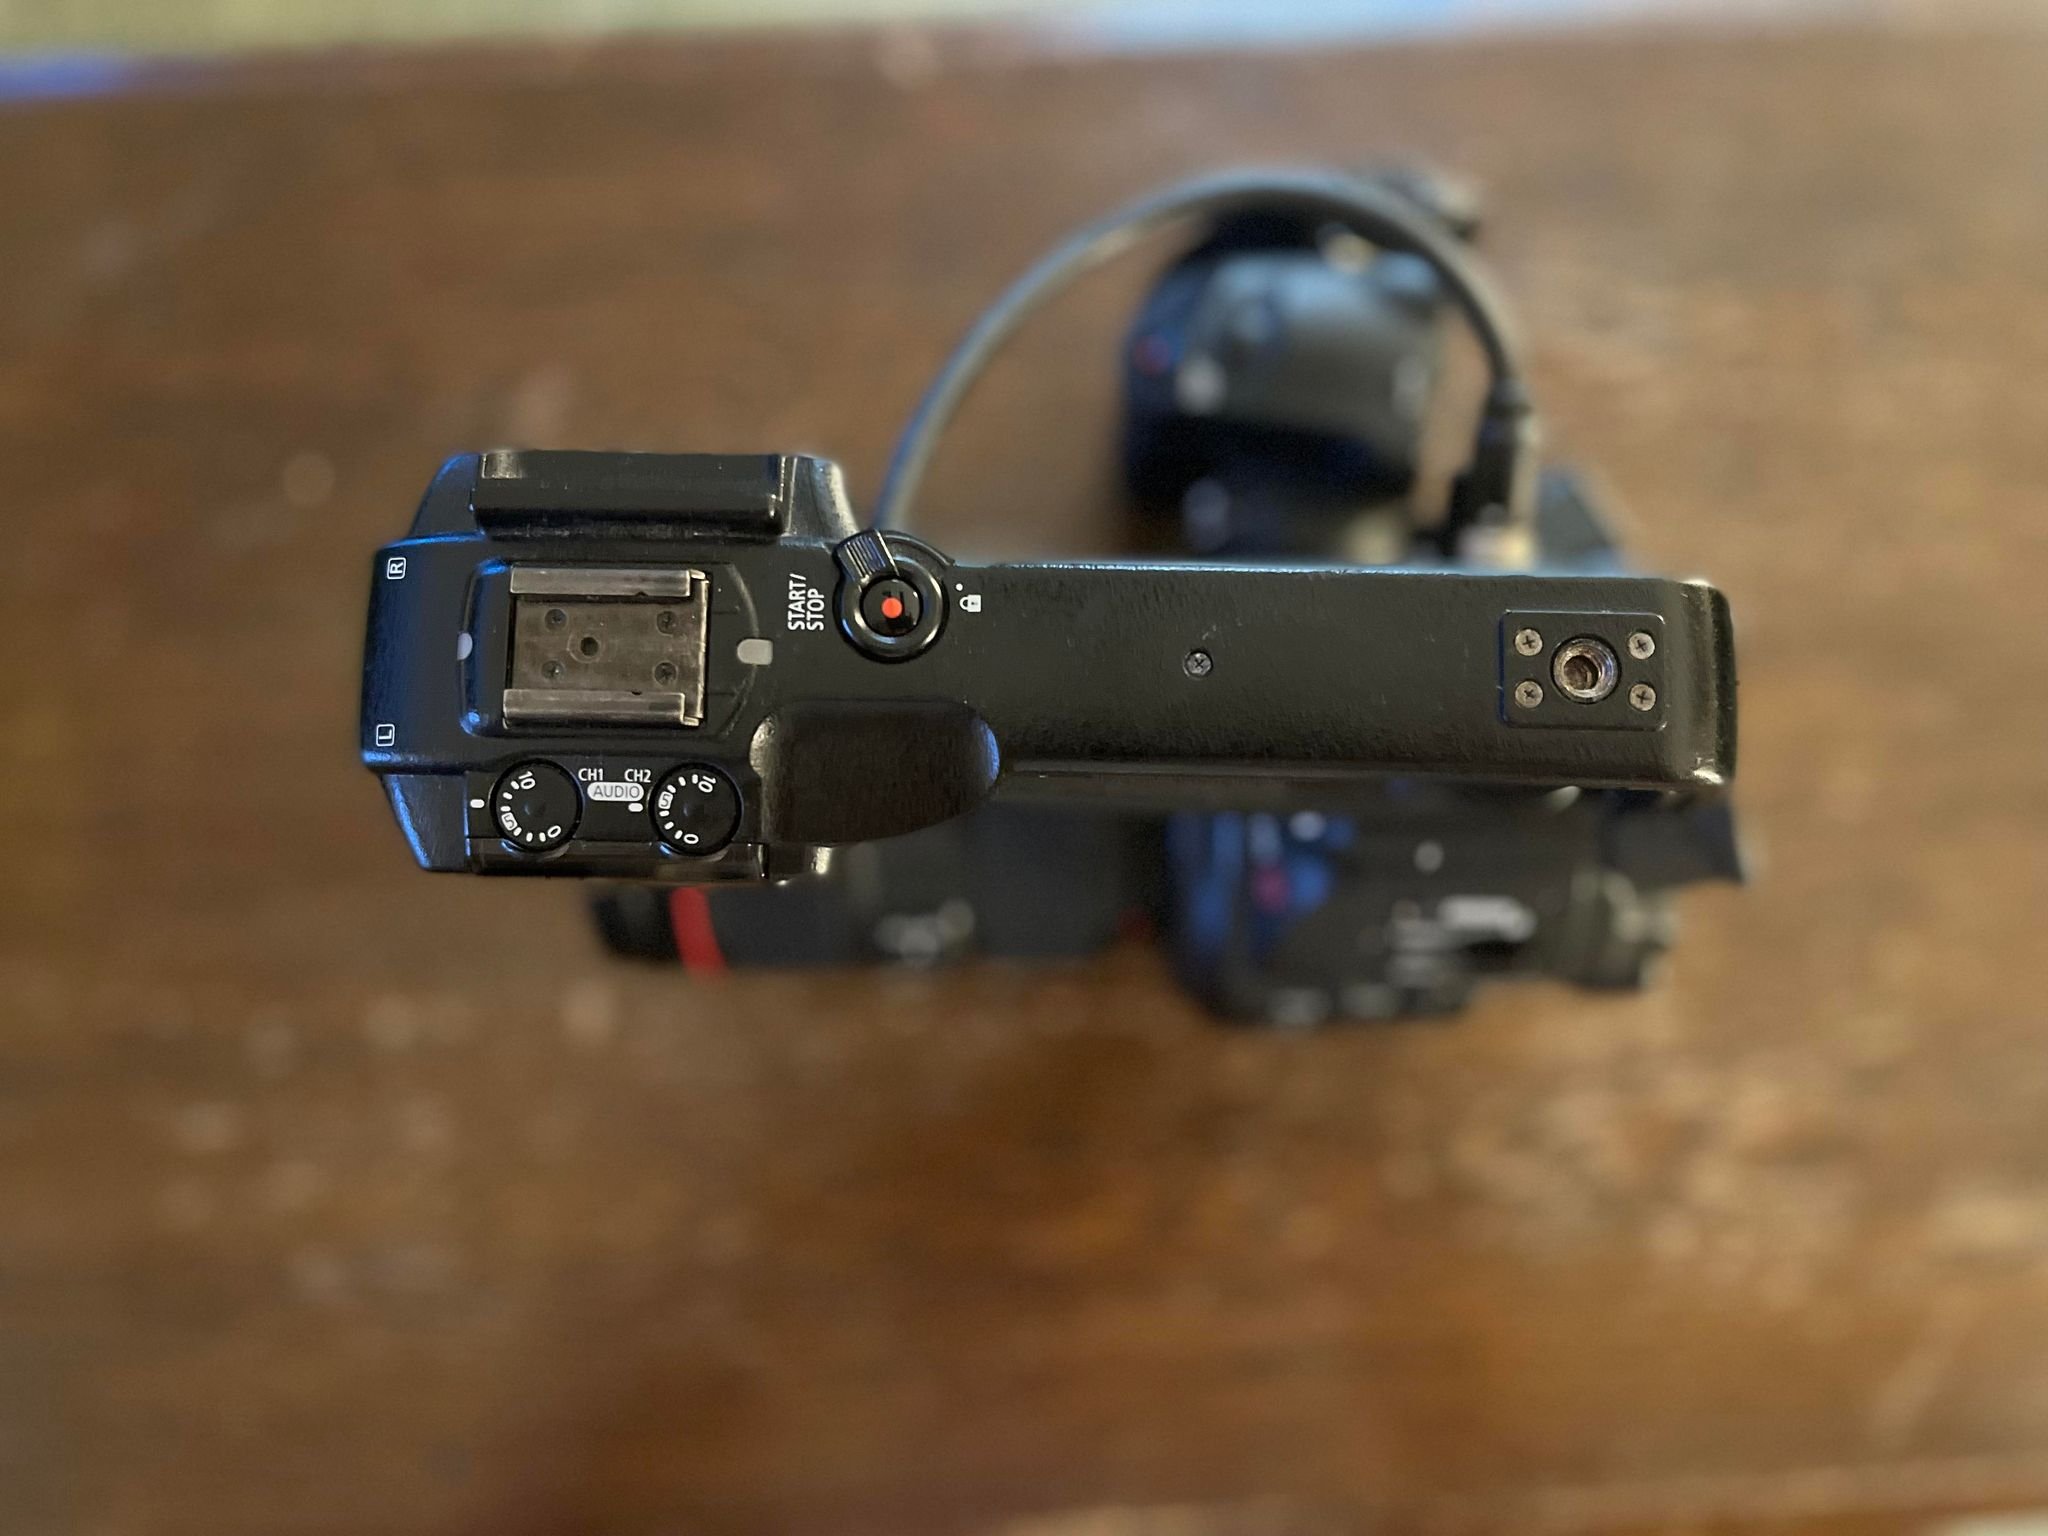
Top Handle/Audio Inputs
This handle makes it easier to carry and stabilize C100. It is perfect for run-and-gun situations, especially for those low-angle shots of people running, skateboarding, etc. There are multiple buttons on the handle: you can toggle back to the menu, start/stop record, crop in/out for focus, and there’s a custom button on there as well. It also houses the microphone holder and XLR inputs, recording live sound for your convenience.
Control Grip
The C100’s side control grip is another essential way to carry and move the camera around. We recommend using the control grip for shots that require less run-and-gun, mainly for your standard handheld shots that don’t involve fast tracking. When using the side control grip, you can move the camera with more range compared to using the top handle. This is because using the top handle above your waist locks your arm and restricts movement.

Viewfinder and LCD Panel
The viewfinder is for precise framing and focus, which you can use for still video shooting. Adjust the dioptric adjustment lever by scrolling the dial to your desired focus.

Card Slot
Located on the right side of the camera is a slot to insert your memory cards. Remember to close the card slot before you start recording (a fatal but common beginner’s mistake is leaving it open before recording and not knowing why you can’t record).

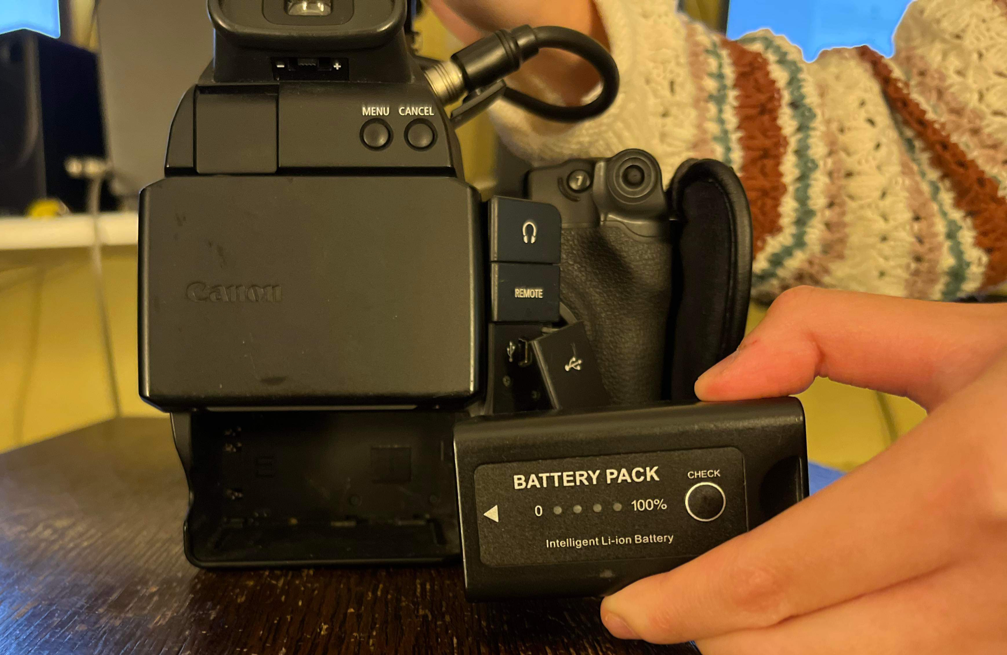
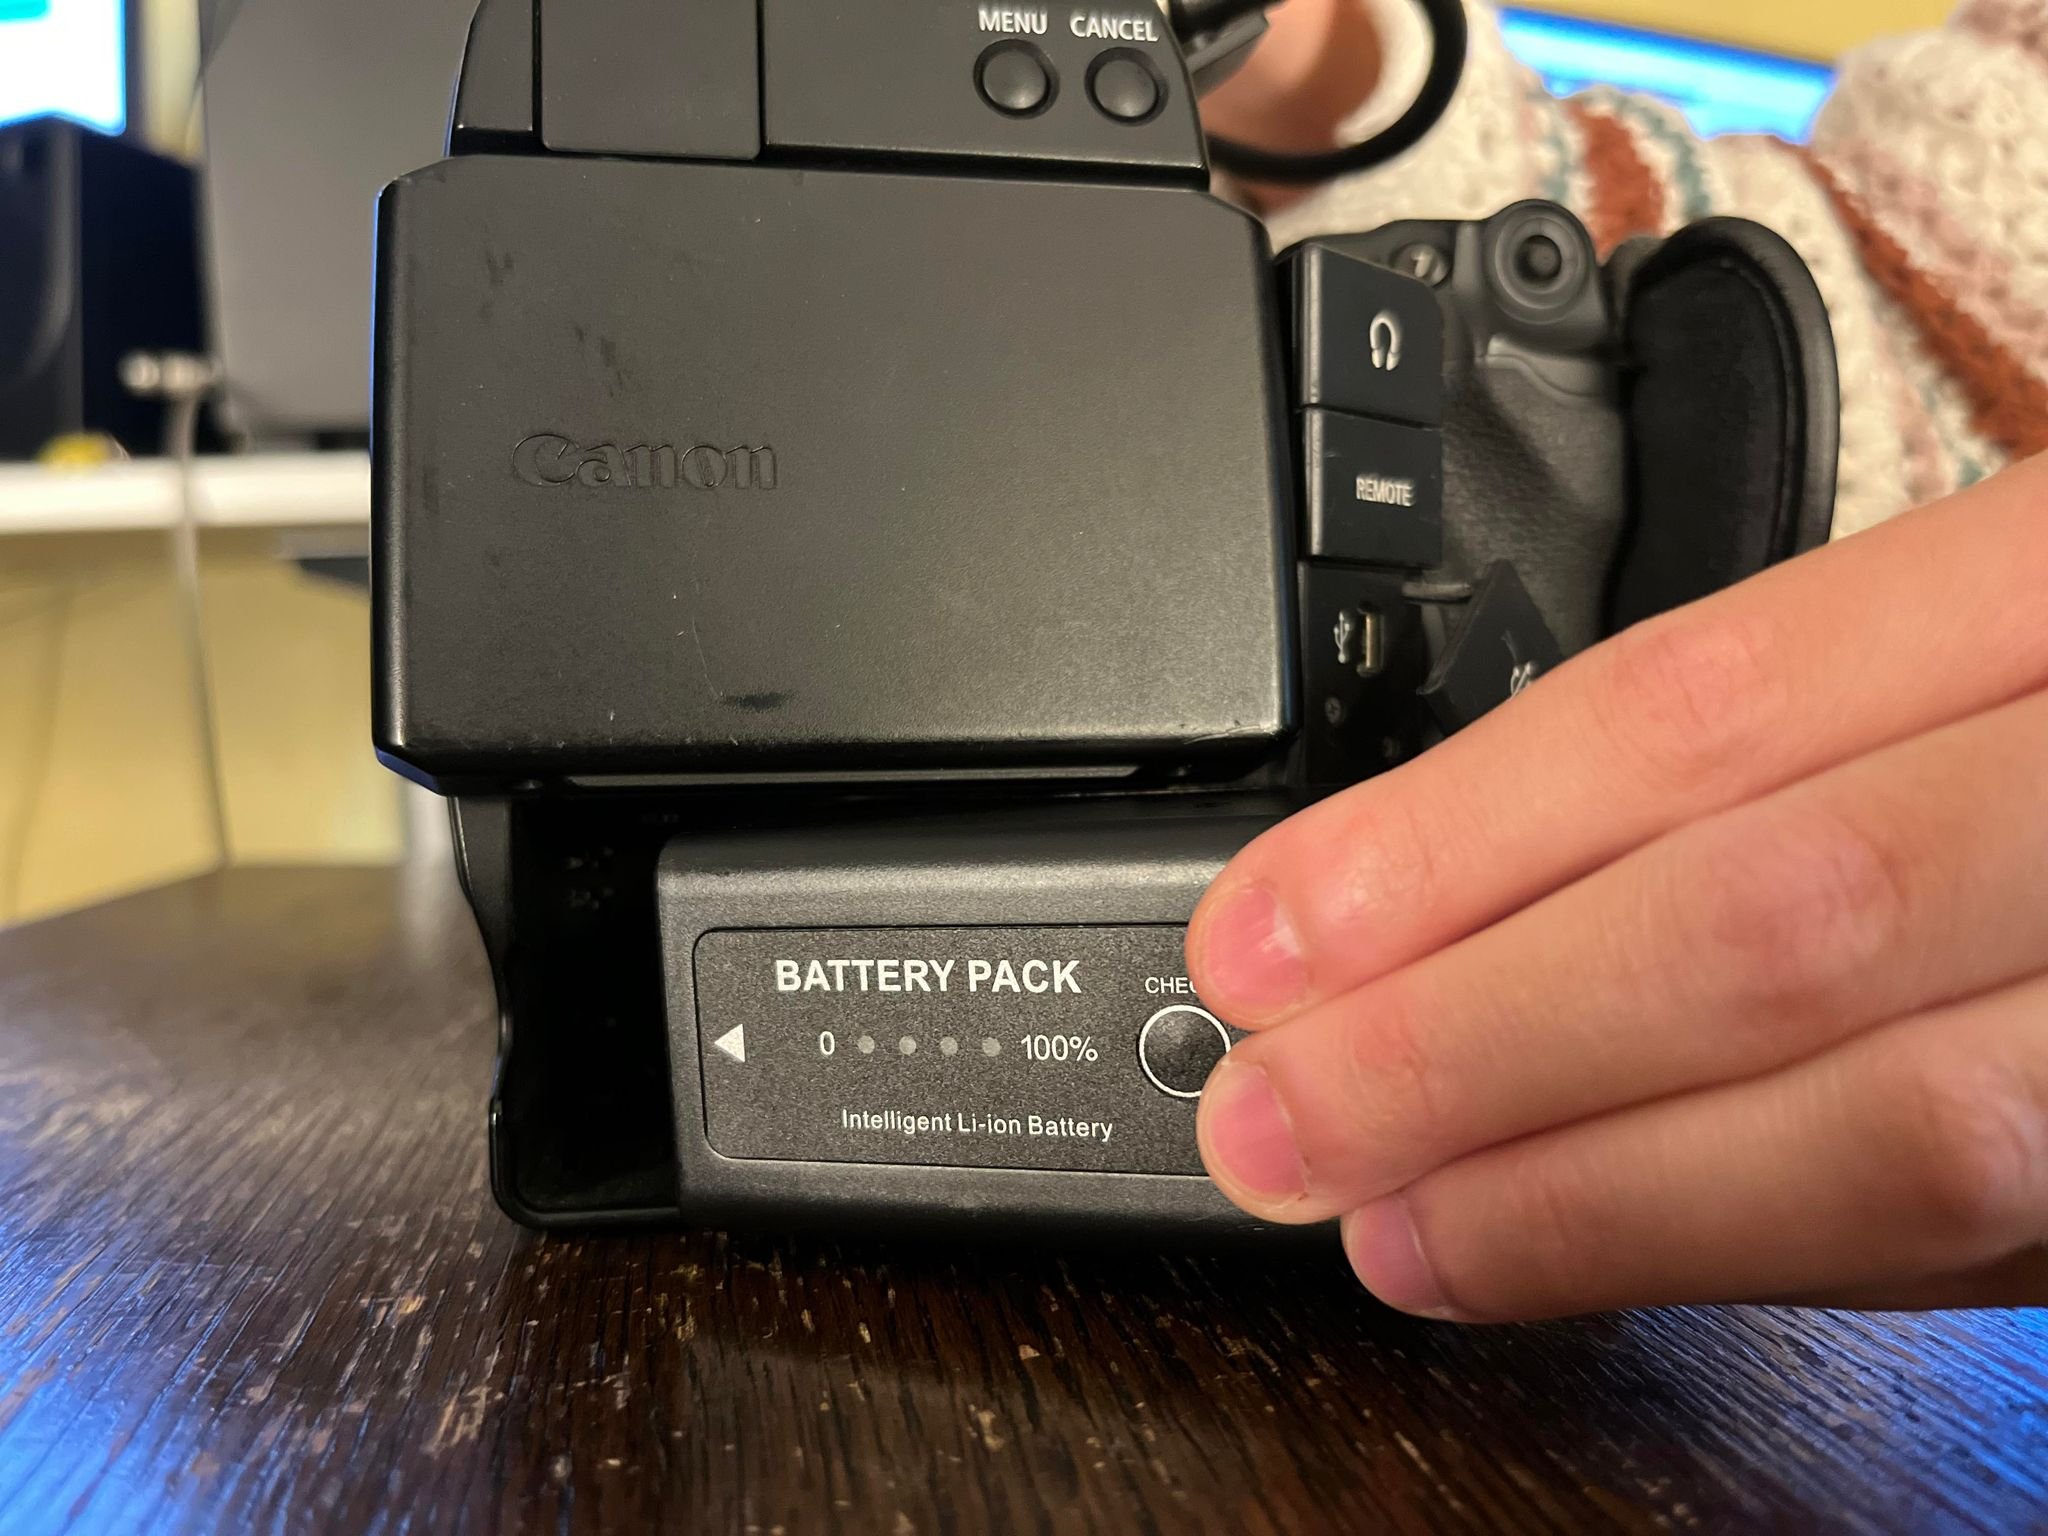
Battery Compartment
At the back, you'll find the battery compartment. Slide in the battery until you hear a click. To release the battery, hold down the battery release button and slide the battery out by pushing the left end of the battery.

Lenses and Mount
The C100 uses EF mount lenses, which are compatible with Canon's extensive line of lenses. The Film Board includes the 25-100mm zoom kit lens with the camera body. Below is a demonstration of how to attach and remove a lens.
Setting Up and Shooting with the Canon C100
Now that you're familiar with the Canon C100’s features, let’s get to the good stuff!
Step 1: Installing the Battery and Memory Card
Open the battery compartment and insert the fully charged battery. Ensure it clicks into place securely. Then flip up the card slot cover and insert an SD card. You can format the card by going to the Menu → Other Functions → Initialize Media → Select Card → Complete

Step 2. Attaching a Lens
When you rent the C100 from the Film Board, our kit lens will already be in place for you. If you need to attach a new lens, make sure you line up the red dot on the lens with the red dot on the camera's lens mount. Twist the lens gently until it clicks into place.

Step 3. Powering On the Camera
Turn the power switch to the "On" position. The locked feature prevents all of the other buttons from working. This is best for when your shot is locked in place, and you don’t want to accidentally press a button, potentially ruining the shot.

Step 4: Setting Your Exposure
There are three essential settings you must understand when using any camera: aperture, shutter speed, and ISO. These elements control your exposure, which refers to the amount of light that reaches the camera sensor or film, determining the brightness and detail in an image or video.
Here is a breakdown of what each element means:
Aperture: Controls the amount of light entering the camera. Measured in f-stops, a lower f-number (e.g., f/2.8) results in a wider aperture and more background blur (shallow depth of field).
Shutter Speed: Determines how long the camera's sensor is exposed to light. Faster shutter speeds (e.g., 1/1000) freeze motion, while slower speeds (e.g., 1/30) introduce motion blur. It is common wisdom for your shutter speed to double your frame rate (e.g. 1/48 is a commonly used shutter speed for 24fps).
ISO: Changes the camera's sensitivity to light and affects the grain quality of your image. In general, lower ISO values (e.g., 320) are ideal for well-lit environments, while higher values (e.g., 800 or more) are for low-light situations. The more you raise your ISO, the grainier your image will likely be. The native ISO for the C100 is 850, which means 850 is the highest ISO that doesn't start adding grain to the image.
Step 5. Playback
Switch the power dial to Media. Press the "Play" button to review your footage on the LCD screen. You can use the joystick on the side grip to navigate through your clips.

Some other elements you need to know before shooting with the C100:
Focus
Achieving sharp focus is crucial for any filmmaker. The Canon C100 offers various focus tools:
Auto Focus: In Auto mode, the camera will attempt to focus on your subject automatically. You can select auto mode by flipping the focus switch to AF on the lens.
Manual Focus: Turn the focus ring on your lens to adjust focus manually. Use the LCD screen or viewfinder to judge focus accuracy. Flip to MF on the lens.
Focus Assist: The camera provides focus peaking and magnification tools to help you achieve precise focus. Press the "MAGN." button to activate these features on the side grip to zoom in and see if you’re catching proper focus.
White Balance
Proper white balance ensures that colours in your footage appear natural. You can set the white balance manually or use presets based on your shooting environment (e.g., daylight, tungsten, etc.).

The Canon C100 is the Camera for You!
This camera is an excellent choice for both beginners and experienced filmmakers. Its user-friendly design, coupled with the ability to capture stunning cinematic footage, makes it a versatile tool for creative storytelling.
Below are other resources and tutorials that can help broaden your understanding of the C100.
From all of us at the Film Board, happy filming!